| Author | Message | ||
Darryl Watson Experienced User Username: inox Post Number: 165 Registered: 04-2015 |
Hi, Can anyone tell me how much to tighten the blanking plug, RE13273), in the upper ball joint housing after fitting a ball joint repair kit. Links to Heritage website diagrams: Blanking plug RE13273 https://heritage.bentleymotors.com/en/catalogue/partCatalogue/394?chassisNumber=SCBZS00A8LCH32556&cookieAccept=0#search-by-categories Ball joint housing: https://heritage.bentleymotors.com/en/catalogue/partCatalogue/394?chassisNumber=SCBZS00A8LCH32556&cookieAccept=0#search-by-categories Many thanks, Darryl  | ||
Darryl Watson Experienced User Username: inox Post Number: 166 Registered: 04-2015 |
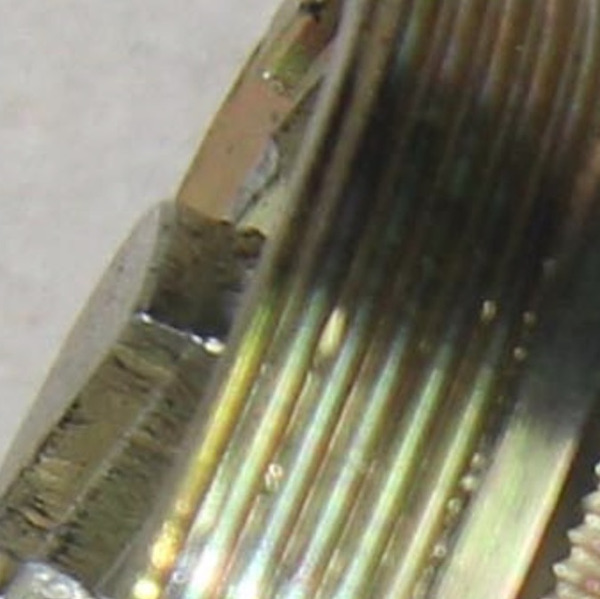
Post script, I see that there are also two "notches" in the plug where the metal is thinner. There are also corrisponding indents in the thread in the BJ housing. I wonder do I tighten the plug fully then adjust the plug so that the indent and notches align and then form two tabs on the plug into the indents? If that makes sense. Regards, | ||
Jeff Young Frequent User Username: jeyjey Post Number: 448 Registered: 10-2010 |
While I don't know for sure, I think your plan sounds good. This image *appears* to show where someone has tapped a punch on the spot to flare it into the parent housing.  | ||
Jim Walters Frequent User Username: jim_walters Post Number: 345 Registered: 01-2014 |
The lip of the plug is hammered into the outer housing to lock it in place after tightening. I tighten them to set the same torque value required to turn the ball pin of the damper ball pin, 30 to 60 inch pounds. NOT foot pounds. See the workshop manual for the instructions on the damper ball pin. Also, a good modification to do is to add a grease fitting to the plug. Later cars had a blank fitting in them that you can remove and add a grease fitting. On earlier cars I drill and tap a hole for a grease fitting.   SRH8505 SRC18015 SRE22493 NAC-05370 www.bristolmotors.com | ||
Darryl Watson Experienced User Username: inox Post Number: 167 Registered: 04-2015 |
Thanks Jeff & Jim for your input. Very usefull information Jim just what I needed. I'm going to research grease nipples but off the top of your head do you know what size grease nipple you used? Don't go out of your way I only ask in case you have one to hand. Regards, Darryl | ||
Darryl Watson Experienced User Username: inox Post Number: 168 Registered: 04-2015 |
From the picture I reckon the nipple is about 8mm | ||
Jeff Young Frequent User Username: jeyjey Post Number: 449 Registered: 10-2010 |
Jim (being a yank) probably used a 1/4-28 SAE-LT (~6mm). M6 or M8 would also be suitable, but I like the American versions better because the thread is tapered. (The nipple is going to be the same on all of them; difference is the threads.) | ||
Mark Aldridge Frequent User Username: mark_aldridge Post Number: 742 Registered: 10-2008 |
Darryl, the standard RR type grease nipple , as fitted to Shadow steering joints fit. Mark | ||
Darryl Watson Experienced User Username: inox Post Number: 170 Registered: 04-2015 |
Thanks for all the feed back. I only had to repair the off side - I couldn't detect play in the near side. Because of time constraints combined with aches and pains in my old bones after repairing the ball joints the grease nipples can wait until next time. (If I'm still around and petrol is available). Regards |