| Author | Message | ||
Daniel Shepherd Yet to post message Username: 1957_grey_cloud Post Number: 1 Registered: 12-2021 |
Radiator leaking like a sieve, would love to hear from anyone who has removed one - the workshop manual is vague. For example, do I need to remove the radiator shell and shutter sub-assembly? Those mounting rods look daunting... 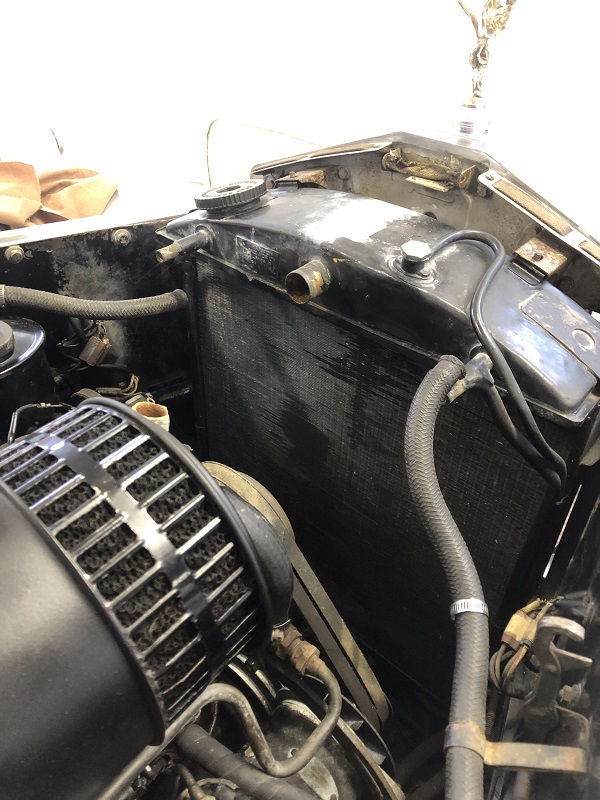 | ||
David Hughes Experienced User Username: wedcar Post Number: 127 Registered: 07-2004 |
Daniel Welcome to the Forum. Hopefully we can assist you. I have removed the radiator several times on our Silver Cloud SED 347. You have started correctly by removing the bonnet. What I do is - using old yogurt containers with lids for individual bolts from each item,remove the bumper bar and valance, then the grille, place them out of the way to prevent any damage, the cross bracing bars do not need to be removed, the radiator will come up with a bit of guidance, I will usually attach a rope directly above the radiator to the garage roof beam to take the weight, take plenty of photo's and " be patient". Once the radiator is out gives good opportunity to check the belts and to give a good clean up. Trust that helps. Regards David | ||
Daniel Shepherd New User Username: 1957_grey_cloud Post Number: 2 Registered: 12-2021 |
Thanks David - that is a absolutely a great help - I will have a crack at this over the weekend - I couldn't find anything in the workshop manual as to how to remove the bumper and valance - hopefully this will be obvious. I will report back, hopefully without cuss words, how I go this weekend :-) Best Daniel | ||
Jeff Martin Frequent User Username: jeff_r_1 Post Number: 335 Registered: 07-2018 |
I used a "come-along", but one needs a fairly high sealing for one of those. Works well though. | ||
Daniel Shepherd New User Username: 1957_grey_cloud Post Number: 3 Registered: 12-2021 |
Bumper off - now to the front apron - looks to be composite but assuming that the entire front apron comes off, so here we go... 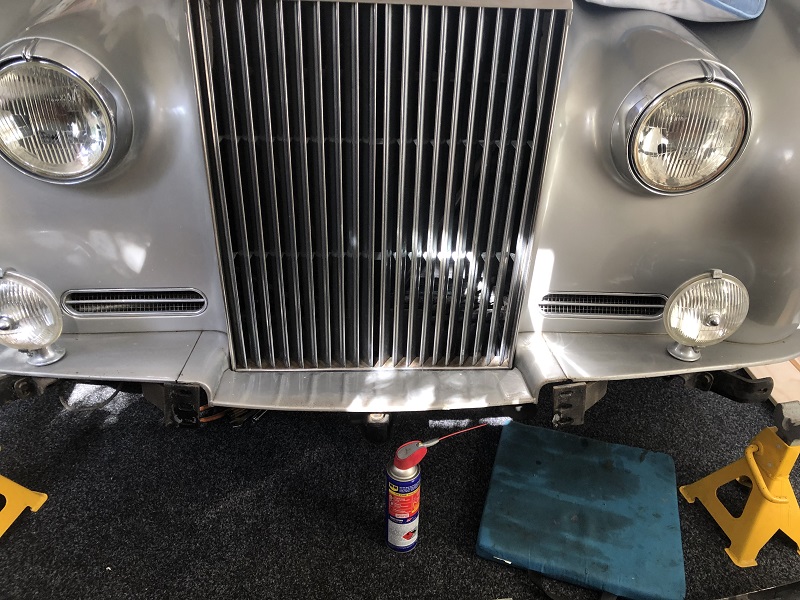 | ||
Daniel Shepherd New User Username: 1957_grey_cloud Post Number: 4 Registered: 12-2021 |
Time for a beer - radiator out tomorrow, hopefully with no dramas :-) 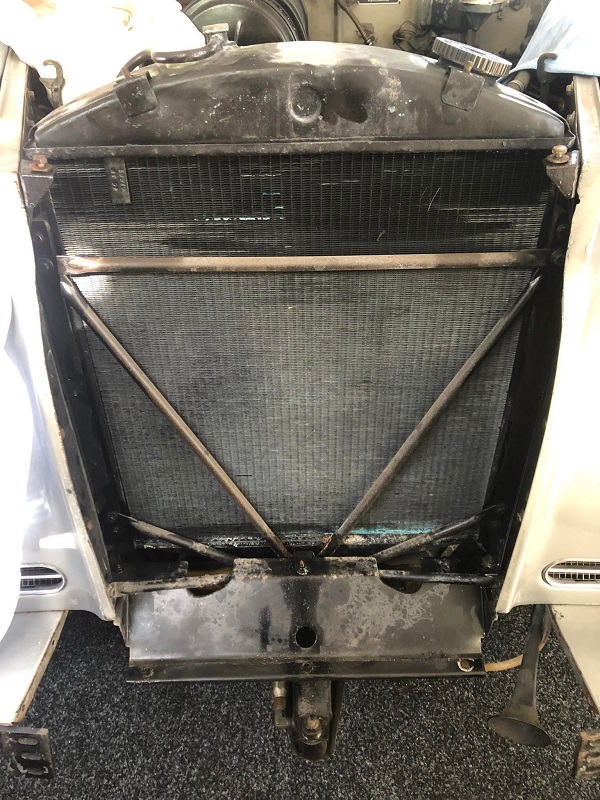 | ||
David Hughes Experienced User Username: wedcar Post Number: 128 Registered: 07-2004 |
Daniel Well done, hopefully all goes well tomorrow. When replacing the bolts/screws etc make sure they are all free (not tight) and lubricate with small amount of grease (best graphite grease). Regards David | ||
Daniel Shepherd New User Username: 1957_grey_cloud Post Number: 5 Registered: 12-2021 |
All you advice was spot on David - thanks for that - though I did remove the silent block as per the instructions in the workshop manual - and I'm now wondering why! Radiator now goes to shop for remediation and I will have a clean up of the front end. Might change those belts while everything is out... 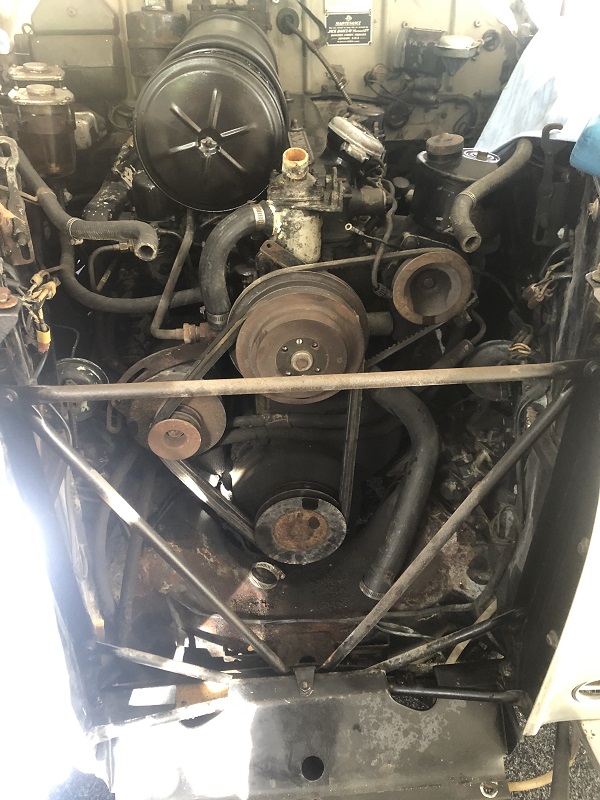 | ||
Jeff Martin Frequent User Username: jeff_r_1 Post Number: 336 Registered: 07-2018 |
Yours is much easier then my MK VI. On my Bentley, the whole front of the car is bolted onto the rad frame and is part of the body. Pretty much the whole front of the car has to be removed _ fenders and everything. Nice that RR actually changed things for serviceability. Well done Daniel !  Consider servicing your water pump and thermostat if you don't know the history of your car, or if you have never done it yet. It will never be easier to access it at this point. | ||
David Hughes Experienced User Username: wedcar Post Number: 129 Registered: 07-2004 |
Daniel Congratulations - glad that it went well. Happy to assist you further if you need it. Regards David | ||
Daniel Shepherd New User Username: 1957_grey_cloud Post Number: 6 Registered: 12-2021 |
Thanks David and Jeff, I'll have a crack at taking the thermostat out this week - I understand you need a special tool and I think there are previous posts I can look at for guidance. Will do fan belts as well. The car, Frank, has been in the family for a very long time, here in NZ, but unfortunately was parked up by my uncle in 2004. With his recent departure we are enjoying bringing Frank back to life again in his memory :-) 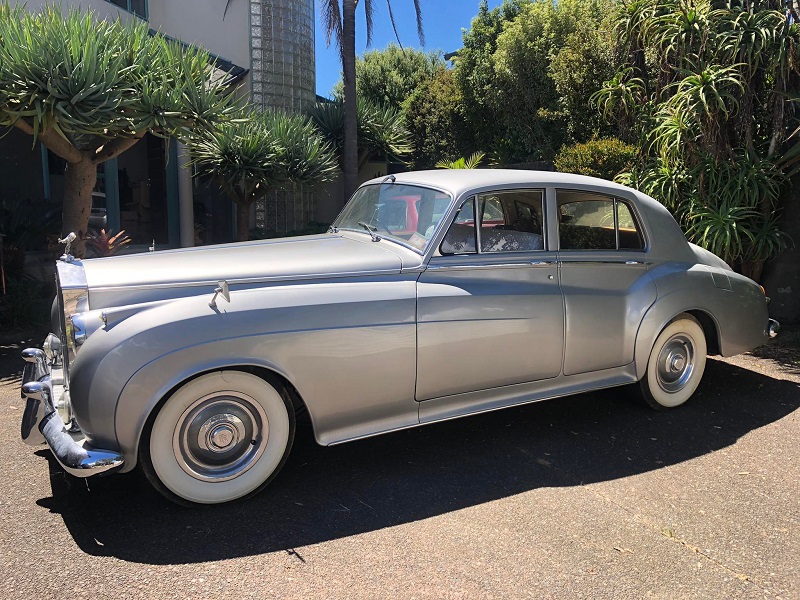 | ||
Jeff Martin Frequent User Username: jeff_r_1 Post Number: 337 Registered: 07-2018 |
The thermostat may just slip out by hand if you're lucky, here's the tool, you may buy it out-right, or use Flying Spares loan scheme. If you need a new thermostat, the ones from Introcar and Flying spares are of the modern wax type with the proper by-pass shutter. Don't be tempted to use one that simply fits in there, the car will have problems getting up to temp when it's cold and run hotter then normal in warm weather. There is also a coolant drain at the back of the block on the carburetor side, open that up and clean out the silt in the block. In most cases, nothing will come out, if this happens, remove the tap and clean out the opening. Repeated cleanings and use of the garden hose may be necessary to get things to flow. Be careful not force the tap when removing it from the block, if it comes to that. https://www.britishtoolworks.com/product-page/sc-thermostat-puller-rh639 https://www.flyingspares.com/loan-of-thermostat-extraction-tool-rh639loan.html | ||
David Hughes Experienced User Username: wedcar Post Number: 130 Registered: 07-2004 |
Daniel Good looking car, Frank would be pleased. The "original" tapped holes in the "original" thermostat were 3 B.A, again be patient, use plenty release fluid, a pan of boiling water under the housing often works. Regards David | ||
Daniel Shepherd New User Username: 1957_grey_cloud Post Number: 7 Registered: 12-2021 |
Thanks guys. Found the coolant drain tap - and after some "manipulation" I managed to get my hand on it - but it wasn't going to open for love-or-money! Feels like the housing has been welded on - and it is brittle as hell - so I'm resigned to the fact that I'll need a new one. David: so if I can get the right bolts (3 B.A) then it is possible to fashion my own extractor? Is it wrong that I'm really enjoying this !?!? 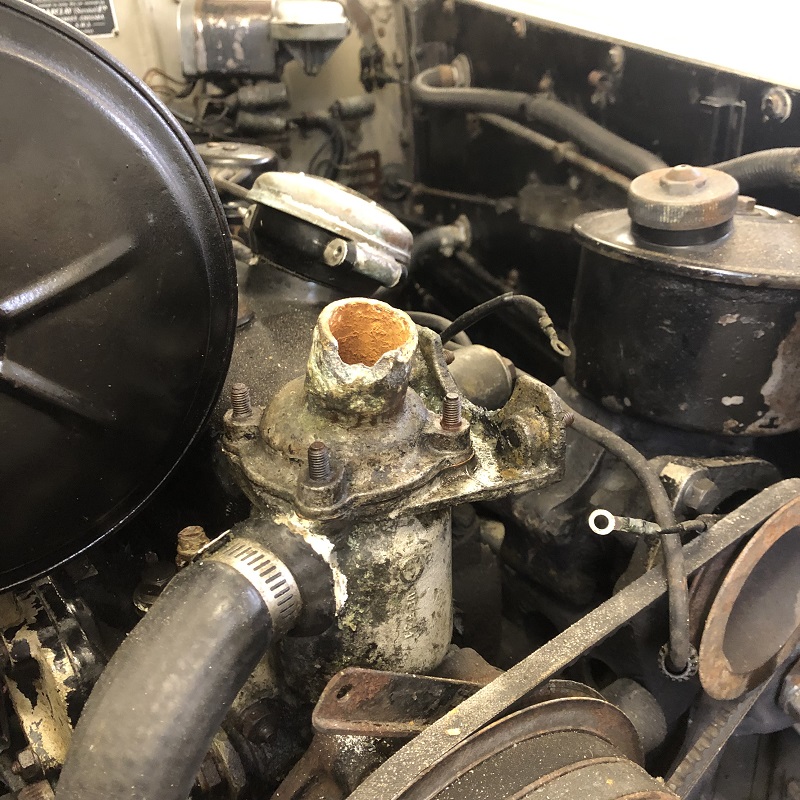 | ||
David Hughes Experienced User Username: wedcar Post Number: 131 Registered: 07-2004 |
Daniel If the original thermostat is in there, it is not that difficult to make an extractor, hopefully you can find the 3 B.A screws. In relation to the housing top, squirt release fluid around the studs, leave overnight and then add more the next day, then GENTLY tap the side of the housing alongside the stud bosses with a drift and small hammer, (Percy Veerance is your best friend here) this encourages the release fluid down past the studs. In relation to the drain tap, these are very easy to snap off, the internal section of the tap is tapered, best way to open is, working from underneath - slacken the nut at the bottom of the tap a couple of turns and using a drift and small hammer GENTLY hit the nut upwards to try to free the taper. It is very satisfying when this all comes together and one of the rewarding aspects of owning an old car - good for you. | ||
David Gore Moderator Username: david_gore Post Number: 4087 Registered: 04-2003 |
Daniel, You will find the Australian model engineering supplier detailed below a great help in sourcing BA fasteners, taps and dies. https://ejwinter.com.au/collections/fasteners https://ejwinter.com.au/collections/taps-and-dies | ||
Jeff Martin Frequent User Username: jeff_r_1 Post Number: 338 Registered: 07-2018 |
What Davide said about the drain tap, and it does not hurt to apply a little heat with an MPS gas tourch on the outside housing where the spigot is wedged into. Let it cool completely before trying again. Even a tap that has been used once a year, will be very stiff and one is unlikely to turn it with your bare hand. I use a small crescent wrench to turn mine. At your stage though, don't use a crescent wrench, if you do, do not apply too much pressure. If it starts to move, add some penetrating oil. It's very satisfying to get in there and put things right. | ||
ChristopherCarnley Unregistered guest Posted From: 217.39.245.30 |
You can always tap out to 2BA, if the 3 BA threads are ripped out of the brass. Tapping drill is 3.9 mm. You can also lever the thermostat through the by-pass hole in the housing. There is an air release / locating screw in the side that has to come out. I have had to drill stuck thermostats out. Now, I have to repair two drain levers, that had been damaged previously. I will post pictures if I remember to take the camera. New outlets may be obtained from eBay U.K, they are made for Terry Foxen at Morgan Spares, I have just bought one along with the water pump back plate,and the engine/gearbox rubbers, and a gearbox dip-stick. (Message approved by david_gore) | ||
Daniel Shepherd New User Username: 1957_grey_cloud Post Number: 8 Registered: 12-2021 |
All taken on board - especially the patience bit!!! Will start with the WD40 and light hammer taps - and while I'm there I'll hit the drain tap with some WD40 too. Hopefully will get the radiator to the shop for a re-core (or repair?) this weekend - and will start exploring the parts suppliers for bits-and-pieces. Our Frank was still running last month, albeit not road legal, and my aim is to have him back on the road by the end of the year. I've been reading a lot of the old postings here and what a resource this site is! Daniel | ||
David Gore Moderator Username: david_gore Post Number: 4088 Registered: 04-2003 |
Daniel, A mix of 50% light engine oil/sewing machine oil [SAE10]and 50% automatic transmission fluid applied to a recalcitrant thread and allowed to penetrate for a day or two before attempting to undo will often facilitate success. I have successfully used this technique many times, just don't rush in expecting it to work straight away. | ||
David Gore Moderator Username: david_gore Post Number: 4089 Registered: 04-2003 |
Daniel, Long-time contributor Christopher Carnley has asked me to post the comment and image below on his behalf: "Please include this picture in the radiator thread, it shows the last of the original Smiths thermostats, and the new top outlet, for hopefully, the last ever engine rebuild." 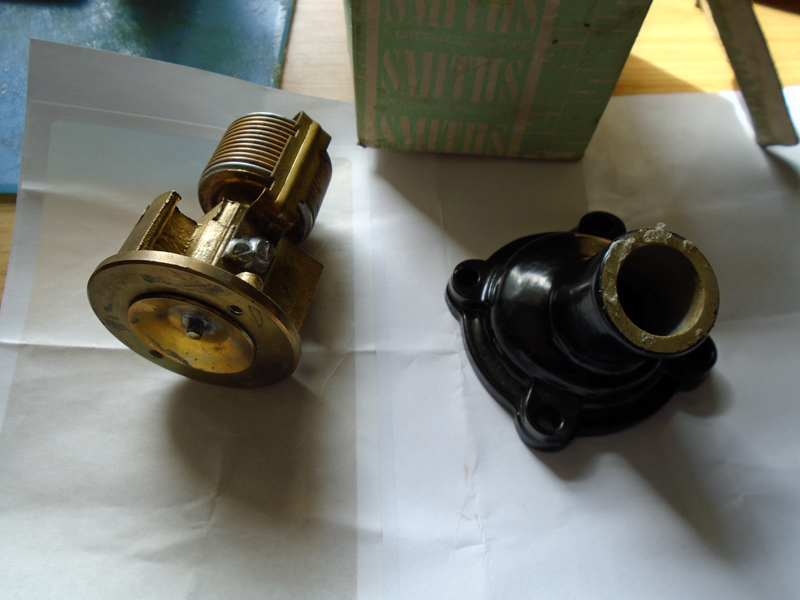 | ||
Jim Walters Frequent User Username: jim_walters Post Number: 360 Registered: 01-2014 |
The absolute best penetrant I have found is 50/50 acetone and auto trans fluid. I am continually amazed at how well it works compared to any of the commercially available ones. WD40 is a very poor penetrant, its main use is for water dispersal and corrosion protection. Same advice as David, let it sit a while and reapply if it dries. If interested do an internet search and no doubt you will find a test someone did with various penetrants measuring the torque required to loosen rusted bolts. The acetone/atf was the best, followed by Kroil IIRC. WD40 was way down at the bottom of the scale. SRH8505 SRC18015 SRE22493 NAC-05370 www.bristolmotors.com | ||
Daniel Shepherd New User Username: 1957_grey_cloud Post Number: 9 Registered: 12-2021 |
Reporting back - that was an adventure. Got tapping and every manner of penetrant in but no joy what-so-ever. Had some of the knowledgeable locals come over and, given the housing was already brittle and needing to be replaced, we slowly worked away at the sides with a hacksaw. Once these were gone we got vice-grips on the remaining metal around the studs, and gently twisted them off. Whew. Now to find some 3.B.A screws to get the thermostat out. A weekend of fun awaits! Thanks for the photos Chris, these will be helpful. Daniel 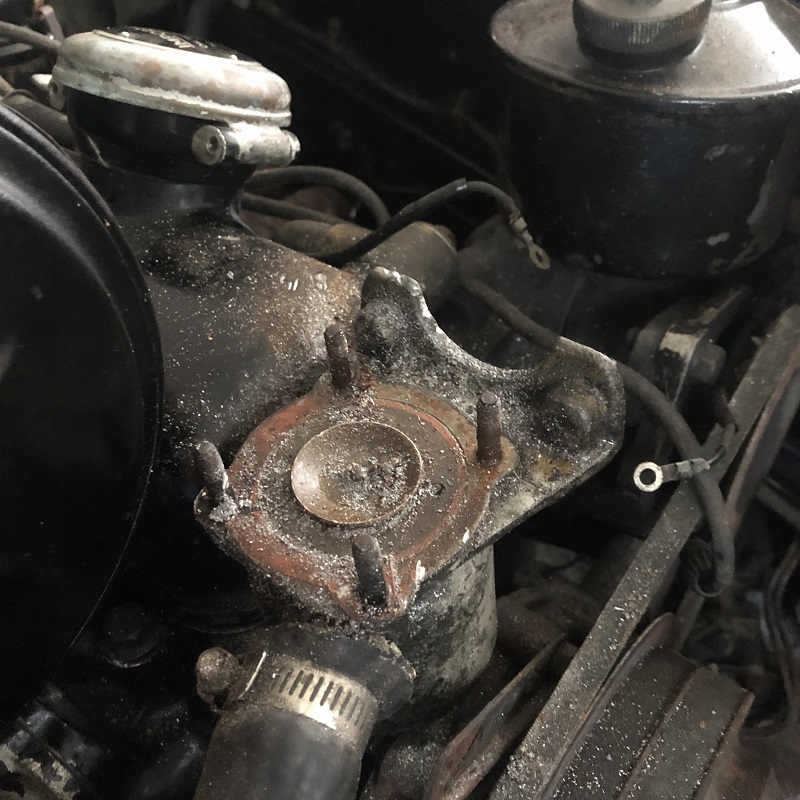 | ||
Robert J. Sprauer Frequent User Username: wraithman Post Number: 774 Registered: 11-2017 |
Stubborn fasteners; 50/50 Acetone and transmission fluid shock heat WD-40 does nothing. It is a coating and not not a penetrant. PB Blaster and Kroil are very good penetrants also. The WD40 brand has marketed a release product but not as good as the ones I mentioned above. | ||
Jeff Martin Frequent User Username: jeff_r_1 Post Number: 341 Registered: 07-2018 |
This would make a good winter project cleaning and servicing the coolant system. You're at the tip of the iceberg. If you get the thermostat out in one piece, test on the stove _ start off with cold water. Don't allow the water to boil. | ||
Daniel Shepherd New User Username: 1957_grey_cloud Post Number: 10 Registered: 12-2021 |
Thanks Jeff, once the thermostat is out (fingers-crossed in one piece) I'll give it a test. May as well have a look at the water pump too while I'm there - so I think my winter is indeed going t be dedicated to Frank. I am learning that WD40's best attribute is its pretty colours... Daniel |