| Author | Message | ||
Patrick Lockyer. Grand Master Username: pat_lockyer Post Number: 547 Registered: 9-2004 |
Thank you David for the part three. Forward and on with this exemplarily site. also the car. Progress with the drivers[chauffeurs] door. No door pockets on this just style pleasent to the eye. Trimmed in leather with the carpet below. Originally a type of rexin was in the cab. Going for the leather pipeing not furflex due some variation within the shuts. The door now closes with the traditional coach builders clonk,a sound that can be lost in many prodution cars. 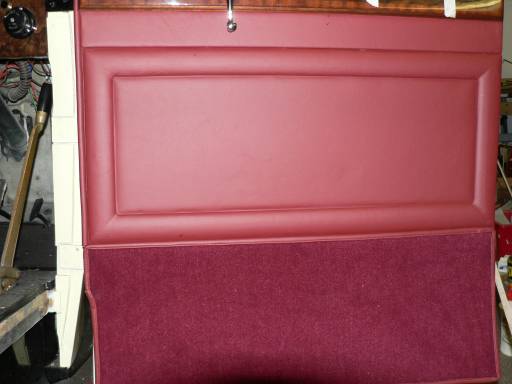 | ||
Patrick Lockyer. Grand Master Username: pat_lockyer Post Number: 551 Registered: 9-2004 |
Both the rear door panels completed and fitted,the car hopefully will be used in all weathers due to the piped inner door finishers not allowing draughs etc to enter. The rear doors now have the coach builders clonk when closed. The door seals still to be done as are the leather door pulls or chrome handles or rope door pulls,still thinking, oh dear what shall it be! 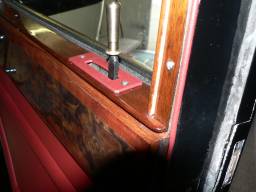 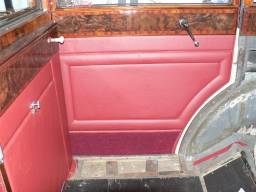 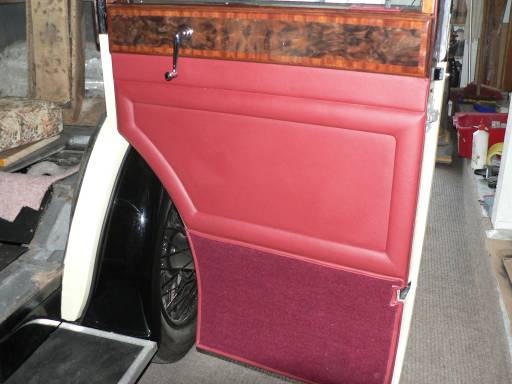 | ||
Patrick Lockyer. Grand Master Username: pat_lockyer Post Number: 553 Registered: 9-2004 |
Tally ho in the cabin we go. The carpets are now stiched with the almost endless amounts of hemming made and stiched in a way so that there is no raw edges to be seen in a way better than most quality manufactures do. Picture no one. Stephe have not forgot the column space.  Picture no two,the pocket [green] in the drivers seat for his fags. 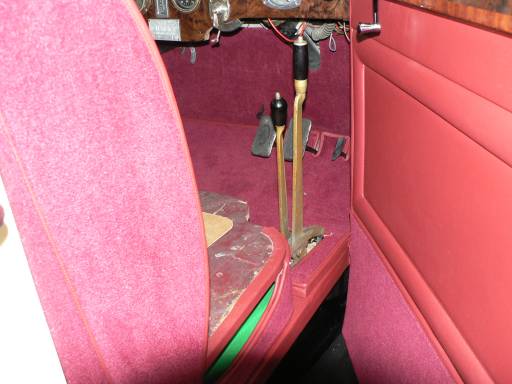 more carpet hemming. 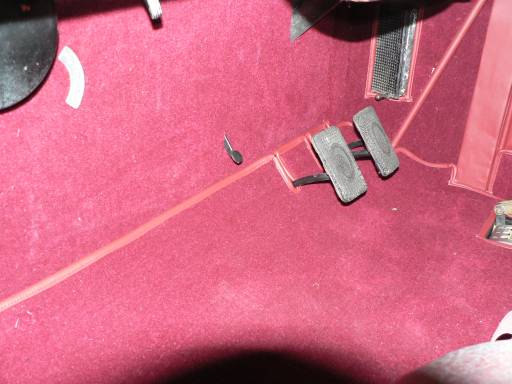 | ||
Stephe Boddice Experienced User Username: stephe_boddice Post Number: 40 Registered: 2-2005 |
Pat, Glad to see that your driver still uses the weed and has somewhere to stash his fags! Extremely considerate of you. My 20/25 engine rebuild is still creaking along. www.boddice.co.uk Cheers, SB | ||
Patrick Lockyer. Grand Master Username: pat_lockyer Post Number: 558 Registered: 9-2004 |
Stephe pleased to see the progress of the 20/25 engine rebuild is comming along in great style. Trimming the side rear newly made arm rests are with the use of rubberised horse hair for comfort. The slopeing floor panel is hinged upwards for access to the battery isolater switch. 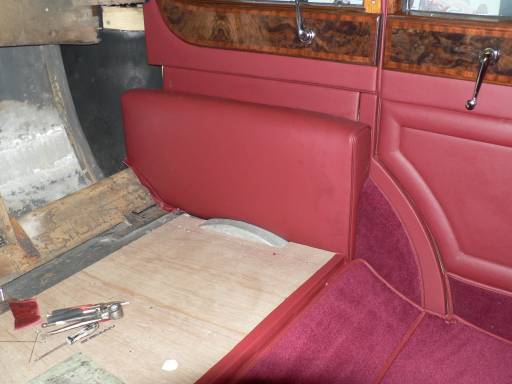 | ||
Patrick Lockyer. Grand Master Username: pat_lockyer Post Number: 567 Registered: 9-2004 |
The old seat cushion hieght was 8.5" The new when finished will hopfully end up about 6.5". First picture is the old plastic material. The new spring carcass have arrived made from the old pattern but the new seat base's are 4.5" high ending up at the 6.5" mark when padded and trimmed second and third pictures show the new spring carcass. No 1  No 2 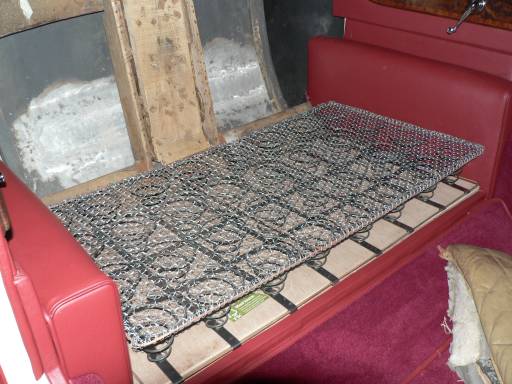 No 3 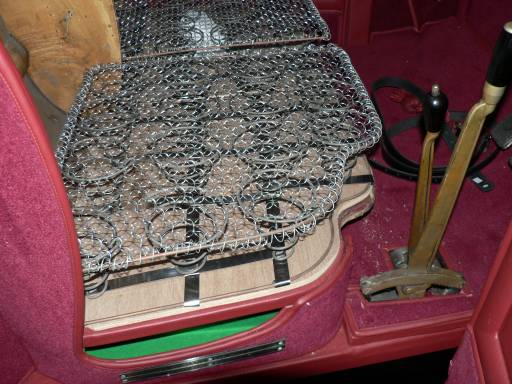 | ||
Patrick Lockyer. Grand Master Username: pat_lockyer Post Number: 571 Registered: 9-2004 |
The front passenger seat back is fitted with springs and then with the rubberised horse hair. the seat base is now covered and nearly ready for the leather. just the other front then the rear headlinning before the rear seat back and centre folding arm rest. 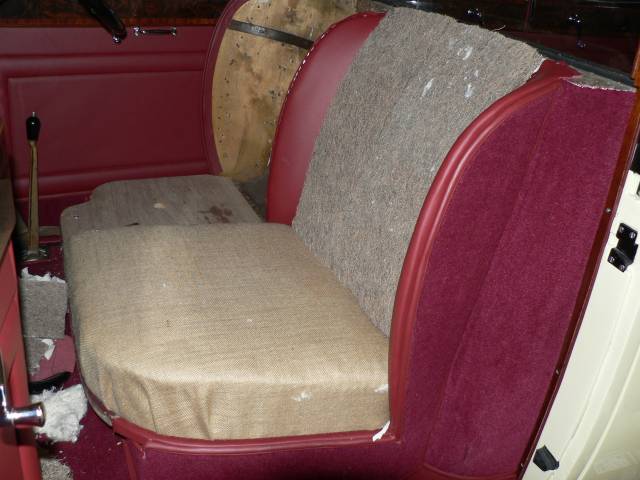 | ||
David Gore Moderator Username: david_gore Post Number: 580 Registered: 4-2003 |
Hi Pat, Good to see you are "hard at it again" - it never ceases to intrigue me that red/maroon/burgundy upholstery gives a warm opulent look to a vehicle yet this colour seems to be overlooked in present day prestige cars. | ||
Patrick Lockyer. Grand Master Username: pat_lockyer Post Number: 574 Registered: 9-2004 |
David,even when the drivers door is open all looks ok, the fag cubby hole in green felt! The saying is red and green must not be seen,just seems to blend in ok. | ||
Patrick Lockyer. Grand Master Username: pat_lockyer Post Number: 578 Registered: 9-2004 |
To-day more progress not with the seats but with the fitting of the headlining in the dreaded rear folding roof. It has to have enough slack when folded and taught when up with no creases. 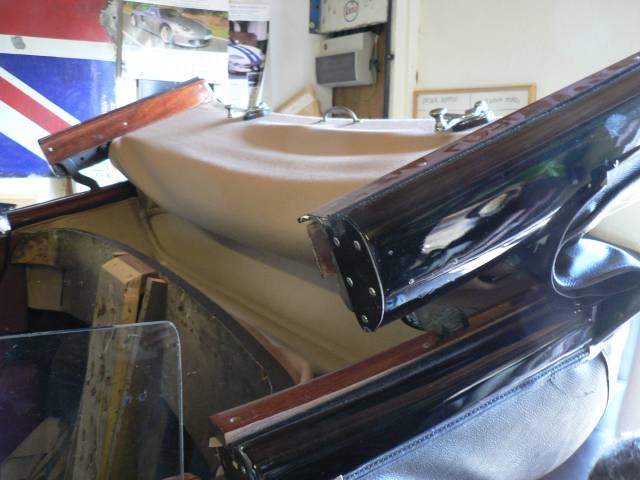 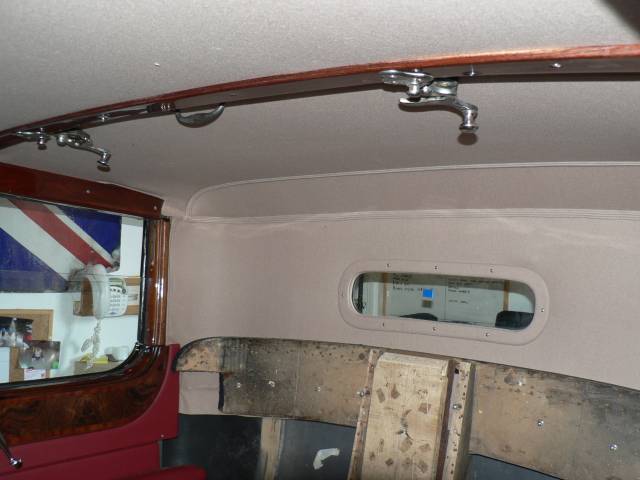 The marks above the rear window are just reflections from the glass with flash. Next the picture of the leather covered folding seat and the larger tin just to give some perspective to the size! 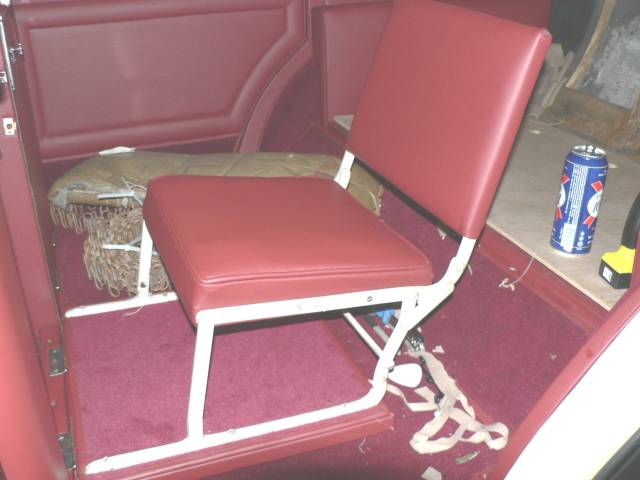 | ||
Patrick Lockyer. Grand Master Username: pat_lockyer Post Number: 586 Registered: 9-2004 |
Front seats are now finished. 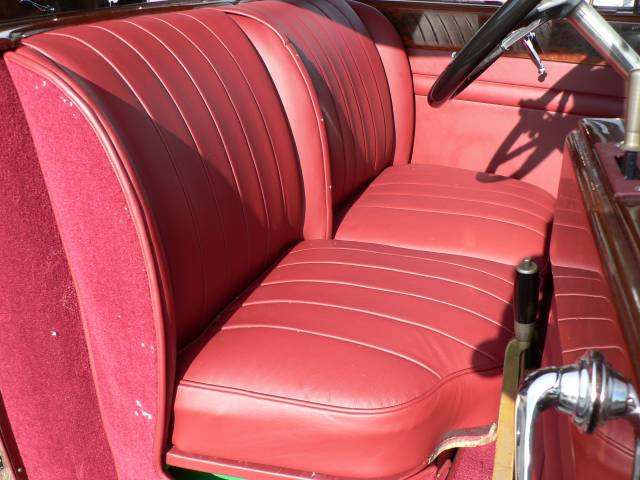 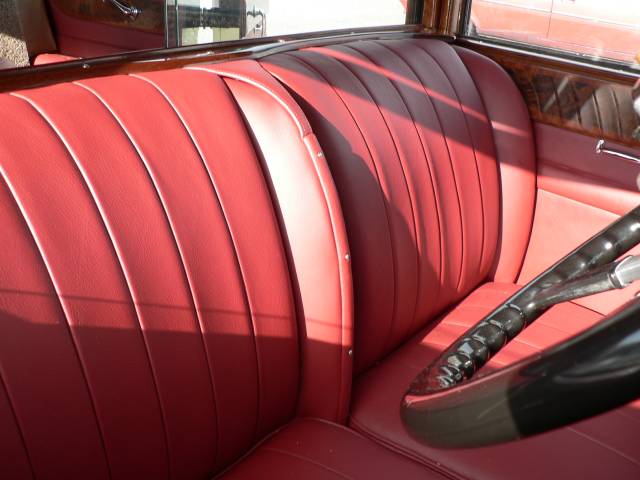 The rear seats are comming on,the fluted coverings are stiched and ready. This picture is of the seat being built up,next the fitting of the arm rest then the fluted seat covers if all is well. 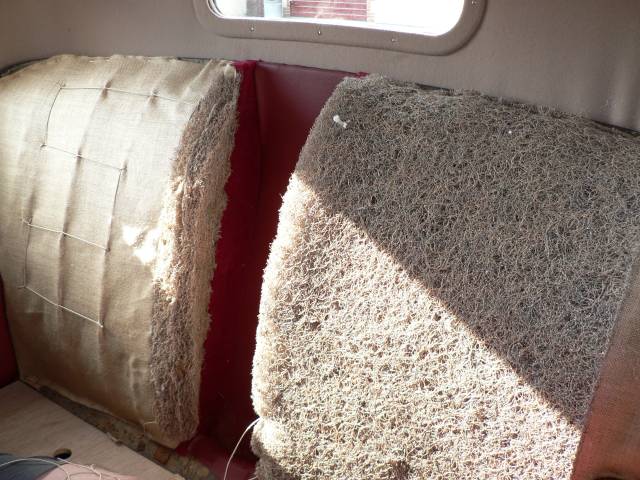 | ||
Patrick Lockyer. Grand Master Username: pat_lockyer Post Number: 589 Registered: 9-2004 |
This rear armrest has to be just the correct shape and is a little"b" 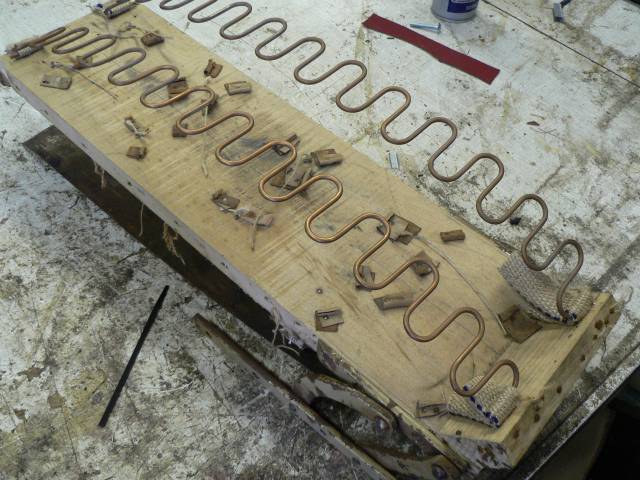 seats completed and rear centre armrest in place but the operation and conture is just not good enough so will have to do it again. Not an easy one that. 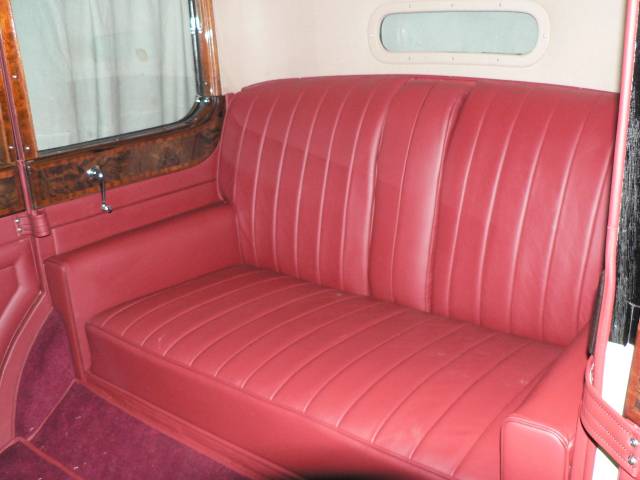 | ||
Robert Wort Grand Master Username: robert_wort Post Number: 300 Registered: 12-2004 |
Great Job Pat. Looking forward to seeing the finished product. | ||
David Gore Moderator Username: david_gore Post Number: 607 Registered: 4-2003 |
Hi Pat, Your capacity for work never ceases to amaze me. Is this a future concours winner in the making? Due to download times for the large number of images, I am closing this thread and opening Part Four. Thanks Pat for your time and effort in doing your posts. |