| Author | Message | ||
Glen Poolen Frequent User Username: wgipps Post Number: 86 Registered: 3-2018 |
So it appears the heater core in SRH17903 has been bypassed at the engine block. The 2 heater hoses hanging lose and a single hose connecting the heater water outlet directly to the inlet. So im suggesting the heater core has packed it in. Aside from the bypassed water lines, I have no evidence of it but i think its a fair assumption. So - how does one replace a core? Does the whole unit need to come out of the engine bay or is it somewhat accessible under the dash? Anyone got a cost estimate of a reco'd core? Thanks Glenn | ||
Robert J. Sprauer Frequent User Username: wraithman Post Number: 71 Registered: 11-2017 |
A good old school radiator shop will pressure test in a water tank and braze up the hole.. If there are many leaks its a good indication the core should be replaced. | ||
Omar M. Shams Grand Master Username: omar Post Number: 1685 Registered: 4-2009 |
Glen, why dont you try reading the following current thread? http://au.rrforums.net/cgi-bin/forum/show.pl?17001/33193 | ||
Geoff Wootton Grand Master Username: dounraey Post Number: 2037 Registered: 5-2012 |
Here are the notes I took when removing the heater core on SRX18501. All the usual disclaimers apply. Note the ugly wire cable tied to the bonnet catch mechanism is non-standard. It was fitted as a bodge by a previous owner and I have not yet got round to correcting it. 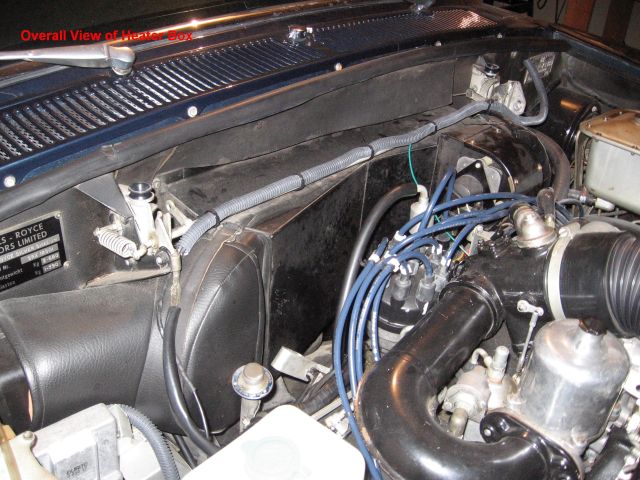 The bonnet catch mechanism has to be pulled forward to allow room for the heater box to be removed. Note the RR manual says that to remove the catch completely the cable has to be cut and a complete new cable fitted. How ludicrous is that.  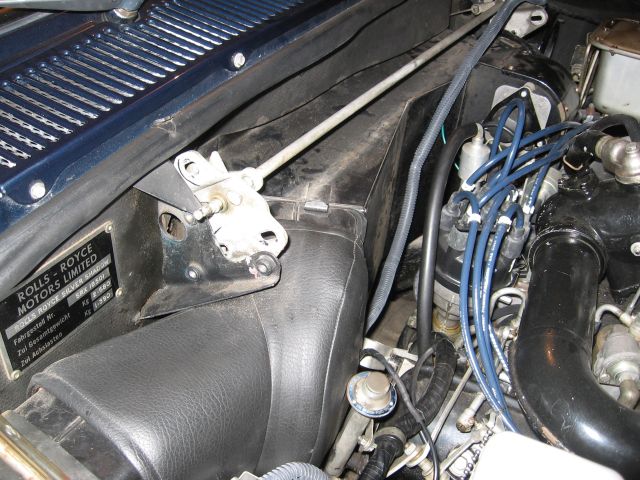 The two rubber ducts have to be removed. Sometimes they can be pulled free if the rubber is softened slightly by heating with a hair dryer. Otherwise the heater blower has to be removed. Don't forget to release the straps. 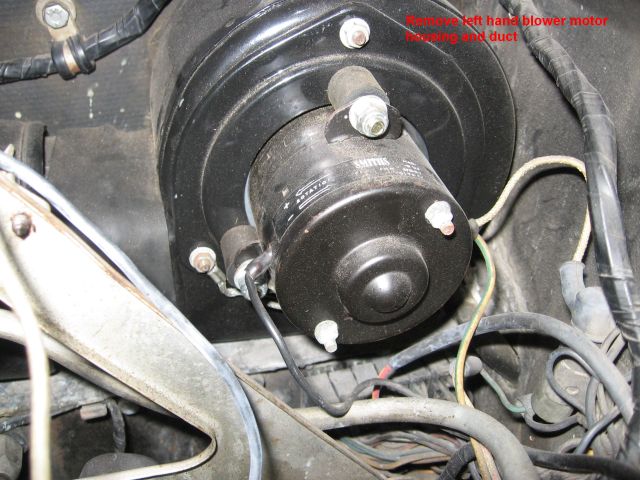 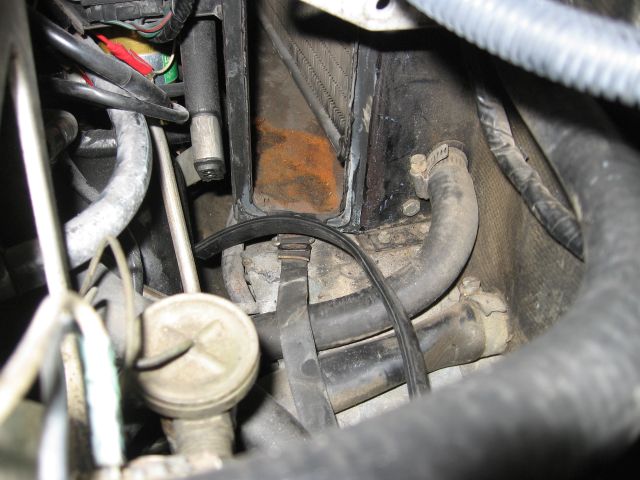 Drain coolant - most people will have done this already. Removing the duct gives easy access to the hoses connections. 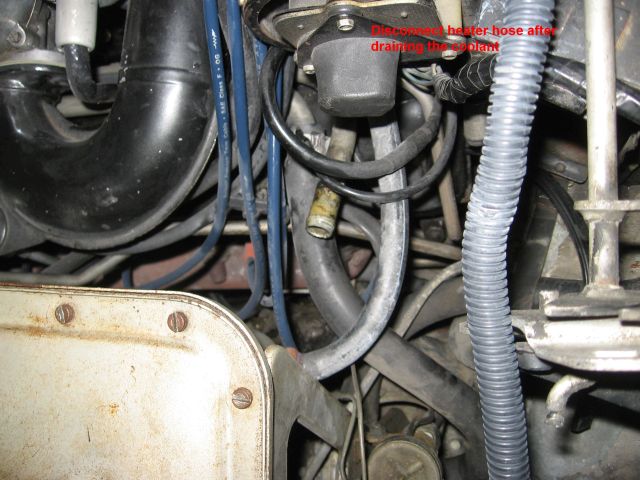 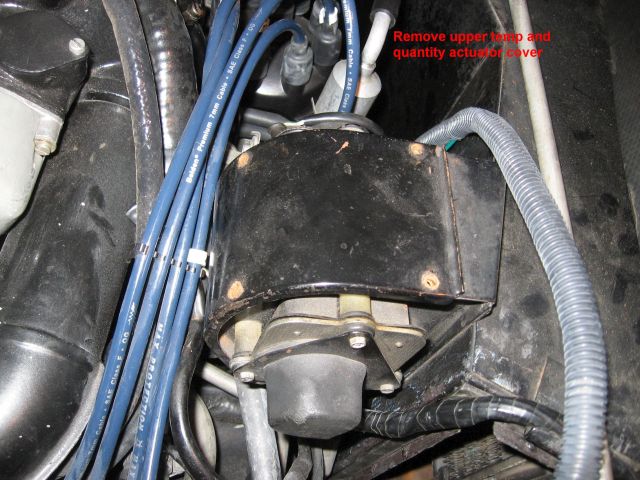 Disconnect flap levers 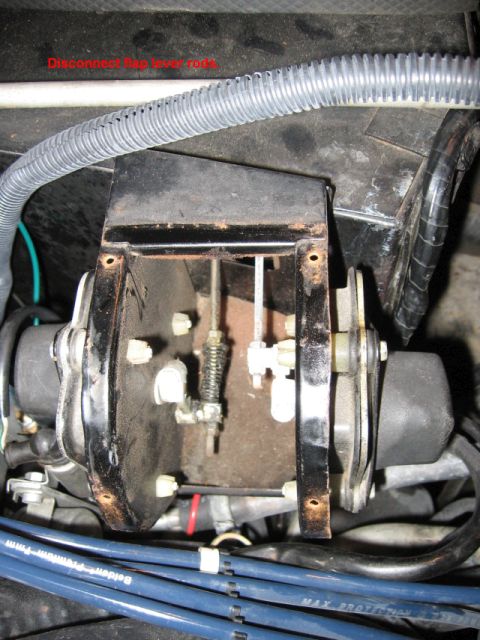 PART 2 LATER | ||
Glen Poolen Frequent User Username: wgipps Post Number: 87 Registered: 3-2018 |
Well done Geoff. I was reading your thread and dreading the whole thing. The photos are great. | ||
Geoff Wootton Grand Master Username: dounraey Post Number: 2038 Registered: 5-2012 |
Hi Glen I hope it's useful to you, if only to decide a course of action. Here's part 2 Unclip the wiring loom from under the actuator housing 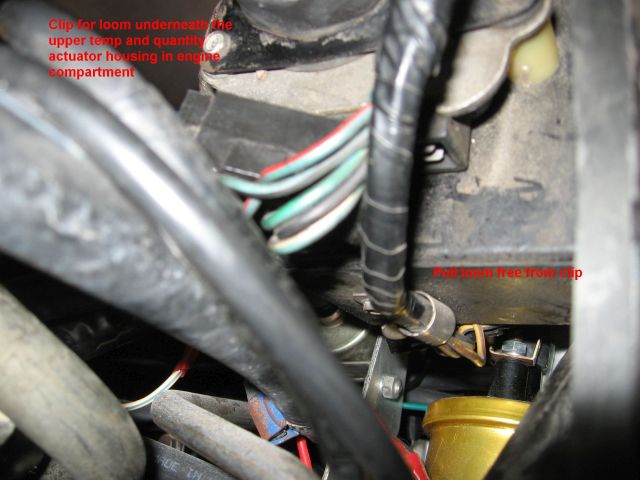 Remove lower heater hose 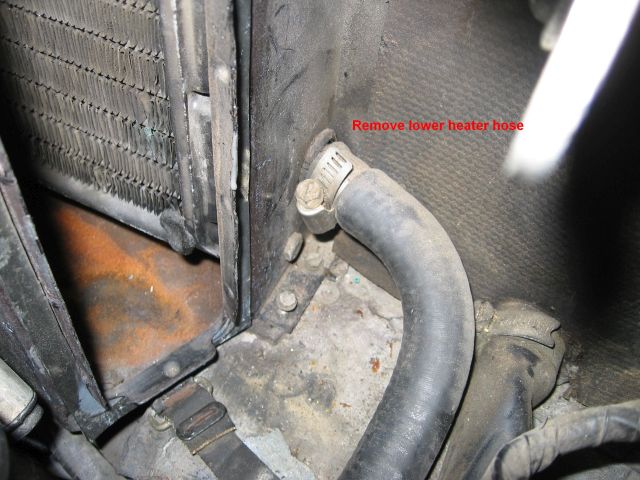 Remove left hand duct 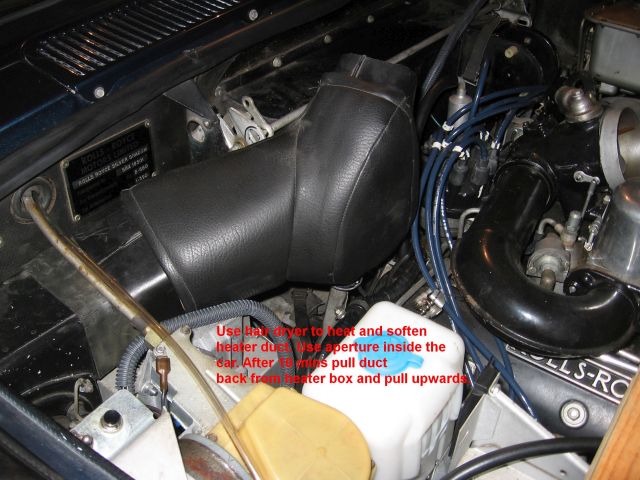 Remove the soundproofing to expose the nuts that line the top and sides of the heater box. Also remove the 3 small setscrews on the bottom edge of each side of the heater box 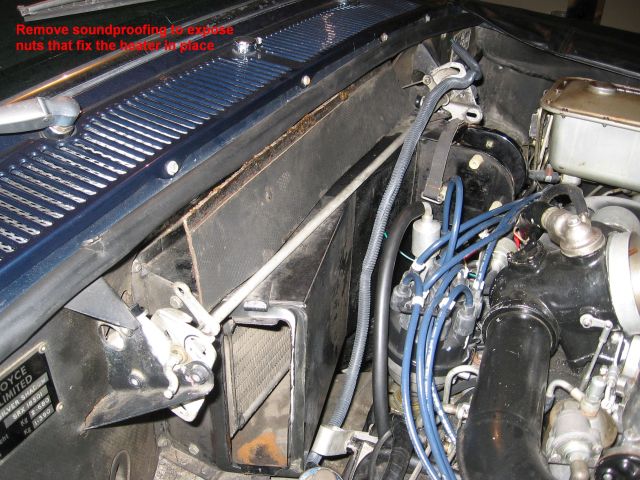 Release the heater box sealant 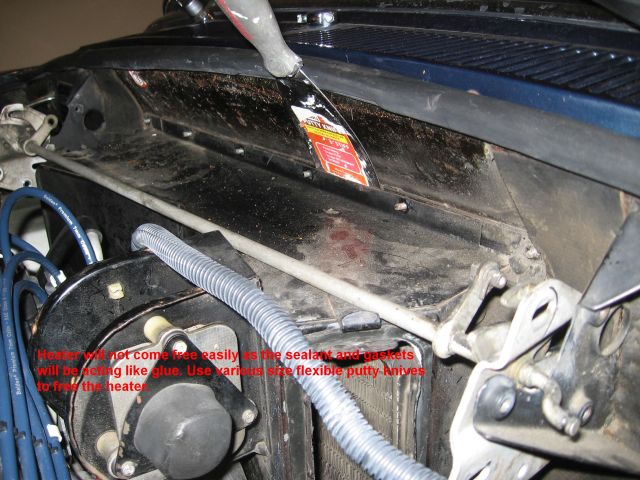 When the heater box is freed from the sealant, remove it by carefully pulling it outwards and upwards. This is the heater box on the bench. The heater rad is held by two bolts either side. 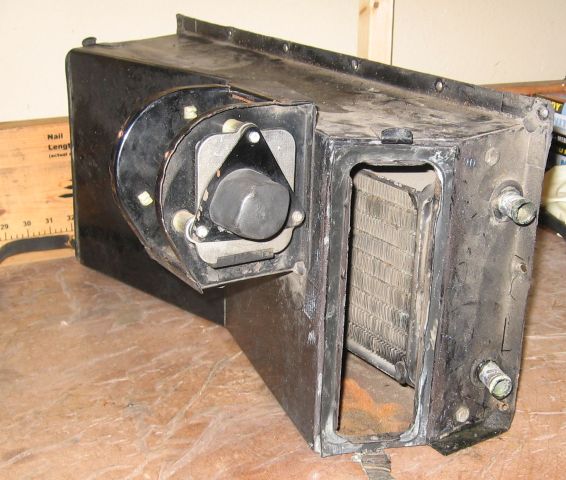 Job done Geoff | ||
Geoff Wootton Grand Master Username: dounraey Post Number: 2039 Registered: 5-2012 |
Glen Don't confuse the heater box with the heater control box that sits behind it. The heater box is a breeze to remove. It's the heater control box that's an absolute pain to remove, because it is so effectively glued it place by sealant. |